2015-11-01

The New Shed - Phase 9

When I started working on the new shed/garage/workshop/storage building in 2014, I thought that I would have the entire thing done before the snow came. Now, here we are in November of 2015, and there are still no walls. At least there is a solid foundation to build on.

October 22

October 22

October 22

Jim came back to help with the concrete pour, and I also hired a guy with more experience, Barry, for a couple of hours. It looked pretty good after it was floated. Once it had setup a couple of hours, I was able to push in the wall anchor L-bolts.

October 22

To give the floor a nice finish, I rented a power trowel. This machine also goes by "whirlybird", "helicopter" and so on, due to its blades.

Sample Power Trowel/Float

After the concrete had been setting up for about 6 hours, I gave it a try, but it was still too soft, and I just made a mess. Every hour or so after that I tested it, but it wasn't until about 8PM, about 10 hours after the pour, that the front was firm enough. The rear, however, still wasn't that great at 11pm. It was too late in the night to be running the motor, and I had had enough, so we just covered it with a tarp to protect the concrete from the rain expected in the middle of the night, and went to bed.

October 22

October 23

After the concrete had be sitting inside the form for a couple of days, I took it apart. Weeks of construction, and attention to detail were only for a temporary structure. I had seen the results of forms that had failed, either partially or fully, and I made mine strong. It had done well, but was no longer needed. Hopefully, I'll be able to reuse the plywood and 2x4s later in the project.

October 24

Now exposed to air, the concrete can fully cure. In another few days it will be ready to support walls and a roof.

October 31
The days, however, are getting colder, with fewer daylight hours. It is just about dark by the time I get home from work, and the weather is usually poor on the weekends. Looks like the framing and final construction will be delayed until the spring. What's another year?


The Entire Story To Date:

The New Shed - Phase 8
The New Shed - Phase 7
The New Shed - Phase 6
The New Shed - Phase 5
The New Shed - Phase 4
The New Shed - Phase 3
The New Shed - Phase 2
The New Shed - Phase 1

2015-10-22

The New Shed - Phase 8

This phase of the project deals with the final preparations before concrete could be poured. The top rails of the form were level and square to make sure that the finished concrete is level and square. The lower ones were just there to hold the lower part of the plywood in place. Some had been installed last year, but with the grade being raised so much, they were now too low, and had to be adjusted. I decided not to put them in until after the styrofoam.

October 12

The styrofoam I wanted to use was not in stock, so I had to wait for a few days to have it delivered. Along with it came the wire mesh, rebar and plastic.

October 17

October 17

The first item to go down was the 6 mil vapour barrier. I considered skipping this step since the shed was going to be so much above grade, but it was not a big expense, so I went ahead with it. It will help keep any ground moisture from getting up into the concrete, and damaging it from below.

October 17

The insulating layer is Foundation Plus. It is the beaded type of foam, rather than the more solid type, and is supposed to both breathe and allow water to pass down through. It is rated for below concrete slabs, and the idea is to help keep frost out, while also providing support. The R value is a modest 7.5, so I am not expecting a lot of cold protection.

October 17
October 19

With slopes and odd angles, it took a while to get all the styrofoam in place. There was a small weather window of warmish weather coming up, so we worked some late evenings to get things done. Fortunately, I have a recently retired friend, Jim, who was willing to give me a hand.

October 20

Getting the plywood to fit was more of a challenge than the styrofoam. There were slopes and a little bit of unevenness to deal with. Each piece required multiple cuts. After that process, it was just a matter of laying out the mesh, and putting in the rebar.

October 21
To do the rebar, I supported the horizontal sections on 4x4s, and 2x4s on edge, to get them roughly 3.5" up into the concrete footing around the perimeter. Then, in the corners and as required to provide support, verticals of various lengths were hammered into the ground, staying under the top of the concrete by about 1". All the connections were wired together. This process went on right up to just minutes before the ready-mix truck arrived, at 8:55, Thursday, October 22, 2015.


The Entire Story To Date:

The New Shed - Phase 7
The New Shed - Phase 6
The New Shed - Phase 5
The New Shed - Phase 4
The New Shed - Phase 3
The New Shed - Phase 2
The New Shed - Phase 1

2015-09-30

The New Shed - Phase 7

Before the load of crushed stone could be spread, the gravel had to be compacted. All the rain and walking over it has helped a lot, but it needed to be packed down as evenly as possible. Enter the "tapper"! An 8" x 8" metal weight attached to a stick, that is also a great workout for the arms.

September 5

While moving the pile of crushed stone, another expense came up. The handle of the wheelbarrow, which I had repaired last year, started to give way. The wood just could not stand up to the many heavy loads. The new wheelbarrow has metal handles, and came in a pretty yellow colour.

September 5

The stone had to be distributed more evenly and level than the gravel, since this was the last layer before the styrofoam. This was to ensure that the final thickness of concrete was correct at a minimum of 4".

September 12

September 12

The form was rechecked and the string tied across again to measure down from. It advanced as the stone was spread. The depth of the stone was also checked at regular intervals to make sure it was around 3".

September 19

It takes many trips with a wheelbarrow to move a big pile of rock, and since it could only be done on evenings and weekends when the weather cooperated, it seemed to take forever. Occasionally, however, I did have a helper to speed things up.

September 19

Keeping at something, eventually it will get done. Preparing for concrete was the most time consuming part of the entire shed project, and took over a year to get to this point.

September 28

Another session of tapping the top, followed sloping and tapping the footing area, meant that this job was finally done. But, before I could completely move on from the gravel and rock work, I had to make sure that the cement mixer could get back to the form. That meant another day of moving class A to a new location, and spreading out the stone at the back of the driveway.

September 30

September 30

With no more wheelbarrow loads required, the form can now be completed. It is quite a relief finally getting to this point.


The Entire Story To Date:

The New Shed - Phase 6
The New Shed - Phase 5
The New Shed - Phase 4
The New Shed - Phase 3
The New Shed - Phase 2
The New Shed - Phase 1

2015-08-31

The New Shed - Phase 6

So, here we are at the end of August, more than a year after starting work on the new shed/garage/workshop, and there is not much to show for it. Last summer we stripped the sod, started framing the form, and spread a truck load of gravel. This year, what we have done is level the form again, and spread another load of gravel.

April 28

July 18

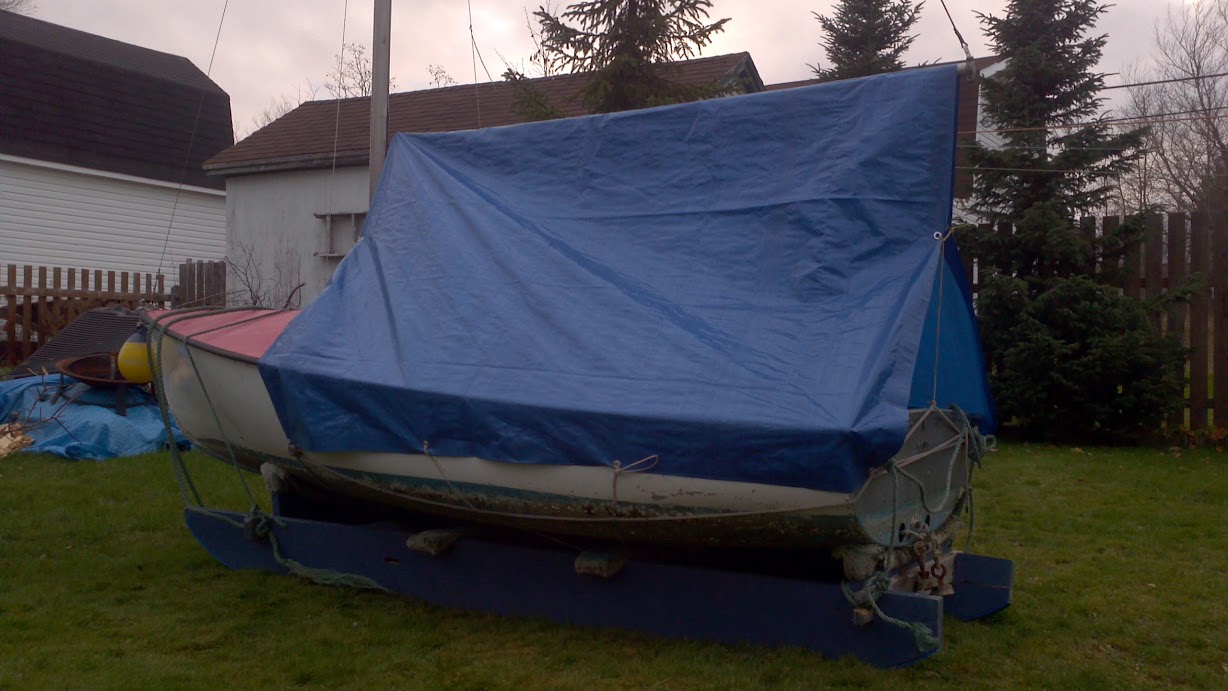
Not to make excuses,  but this year time and weather have been against us. Work had to completed on the sailboat so that it could be moved out of the way. A lack of local supplies delayed that a few weeks pushing us into July. Before that, the ground was too wet and soft from the winter snow melt and spring rains.

July 25

The month of July itself was the worst in about 20 years. It was cold and wet, with bitter winds out of the north most days. On the good days my job took priority, as we struggled to keep up with the workload caused by the weather delays.

August 29

Now that the second load of gravel has been spread and levelled, the crushed stone can be delivered. Once that is distributed, the form can be completed, foam laid, and concrete poured.
I'm still hopeful of getting the shed closed in this year. The foundation is the most difficult and time consuming part. There is a team of friends and family ready to help with the framing, and we can probably work until the end of November on the exterior. Inside work can take place all winter.

2015-05-29

The Petrel Project - Update 1

In my previous post, I talked about how water was entering the cockpit while sailing. The cockpit drain plugs have been disassembled, gone through a rust removal process (brushed, sanded, WD40), and reassembled. After a recent bit of rain, however, it appears that they were not the source of the leak. Even with the inside of the boat dry, water is dripping from the bottom of the boat around the area of the centerboard trunk.


A closer inspection showed that a section of the floor is pushed up. When you push down on it, water exits from one of the seams. So, the flotation foam is saturated, and water is able to flow both in and out of the boat via this route. Since the boat did not leak last year, winter ice must have done the damage.

Water leaking out. It looks like the hull was patched before.

This could be a scary repair, requiring drilling out rivets and partially dismantling the boat to get at the problem. That is not something I want to tackle this summer, so my next challenge will be to find the source of the leak, and just patch it for this summer.

Water is entering along this seam.

In the meantime, the Petrel will have to stay parked until I get time to work on it later in the summer.

2015-05-17

The Petrel Project

If you have not already read Serenity's Little SisterPetrel Mine or Alcan Petrel 951 Sailing Dinghy, here is the short version... In the autumn of 2014 I bought a 12' aluminum Petrel dinghy. It was late in the season, and so it was just put away for the winter.


For the spring of 2015, it received a new trailer. The dinghy came on a sledge which could be hauled around a marine yard, but I needed the boat capable of travelling on the highway. After looking at available options, I decided to wait for the Stirling at Canadian Tire to go on sale. It turned out to be a reasonable fit.


With a 20' mast, a method of carrying something that long was required. On May 17 the trailer got a prototype mast stand which allows it to extend up over the pan of the truck. For a different vehicle this might not work, but the solution is easily modified.


With the boat now mobile, it was time for a test sail. Fortunately, there is a small pond at the end of my street.

Woolfrey's Pond, May 17 - photo by Dave Leyden

The wind was gusty, ranging from barely enough to keep moving, to a few seconds of zipping along nicely. The jib had been rigged, but the boat was taking on water, and I didn't want the extra distraction when I had to be bailing every few minutes. The leak was probably from the cockpit drain plugs. Inspecting them is now on the list of tasks. At least the boat is semi-functional.

2015-02-05

My Fitness Gadgets

It doesn't take very much equipment to start running. You don't even need shoes, if the surfaces are not too harsh. You just have to do it. People, however, like to know things like their pace and distance to determine if they are improving. They also like to know their heart rate and other factors to know when they are pushing hard enough, or too hard. This is where the gadgets come in.

When I started running somewhat seriously back around 2006, all I had was an old Timex Ironman watch to use as a stopwatch. To figure out the distance of a route I ran, I used a website called G-Map Pedometer. With that info I could calculate average speed and pace with reasonable enough accuracy, but it took extra time.


Sometimes I would take my Garmin Legend GPSr with me, but that was awkward to use and carry. At the time there were wrist worn devices which used GPS signals to do all the tracking for you, but they were expensive. After deciding on the one I wanted, I watched the price drops and sales until it hit the point where I could afford one. What I got in August 2009 was the Garmin Forerunner 305 with a heart rate monitor. When I run, my heart can beat much faster than I like, so a constant reminder to slow down is important.


The 305 is bulkier than a watch, but easy to use. It tracks your route, speed, pace, elevation changes, and heart rate. It will let you know when you have hit certain milestones, and you can use it to setup things like Tempo training. Once back home, the data can be dumped to a program on your computer, or uploaded to the Garmin Connect site. There you will always have a record of your activities and progress.

I also used a website called dailymile. It is a place where you can share your workouts with friends and encourage each other, as well as track your activities. There are others like it, such as Buckeye Outdoors. They allow you to either sync your GPS device or enter the data manually. They are basically the same as Garmin Connect, plus a social aspect. Look for "PeterInMotion" to find me on those.

Then came the era of smart phones. During the autumn of 2011, I put aside my old Motorola Razr in favour of a Motorola Atrix. They may be called smart phones, but they really are fairly powerful little computers which just happen to have the ability to make phone calls and send texts. From the app store you can find a myriad of fitness programs. Many have free versions, with more features available for a fee.


I tried out several, and they were all pretty much the same. What I ended up using was Endomondo, just because Google had a sale on the Pro version at that time. With this installed on my Atrix, I only needed the 305 as as heart rate monitor, so I usually carried both. This came in handy when one or the other failed, and as a check. The days of the 305 were numbered, however. It was so much easier to just grab the phone, rather than strap on the big watch and wait several minutes for it to lock on to the satellites.

Since upgrading to a Samsung Galaxy S5 this autumn, I don't even need the 305 to monitor heart rate. The Garmin strap, being Ant+, syncs up with Endomondo on the S5. Now I have everything in the one device. The syncing with the website is automatic, so all I have to worry about is just getting out and doing something - and hitting the start button.


The Garmin Legend is now mounted to my bicycle for longer trips. It is tough and weatherproof enough to handle the job of displaying my speed, etc at a glance, so my phone can be tucked safely away for emergencies. The Garmin 305 still gets put to use once in a while too, when it is inconvenient to carry or access a big phone.


Fitness gadgets come and go, get re-purposed, and passed along to other people. Some lay in drawers or boxes gathering dust. Some are worn all day long, and some only as required. The important thing is that you stay active. If having something to play music and track your speed keeps you motivated, then great. Don't get a device, however, thinking that it will be the motivator. It is just a tool to help with your goals. You still need the drive within yourself to actually get out there and do it.

2015-01-27

Fit 15

The beginning of a new year is when many people make resolutions to improve their life in one way or another. Mostly commonly, this has to do with their health and fitness, also very commonly, it is the same resolutions they made last year, and the year before, and so on. While it is a good exercise to set exercise goals, the important thing is to follow through, and actually put a plan in place.

For me too, 2015 is yet another year in which I plan to improve my health and fitness. It is an ongoing battle. Despite having a job that can be physically demanding, exercising regularly, and being somewhat careful over what I put in my body, I am, according to a BMI of 31, obese. Even my current goal weight of ~175 pounds (79.4 kg) is considered overweight at 27 for my height of 5' 7" (170.2 cm).


I'm not sure how much I trust the index, since it would have me at a very skinny 140 pounds. My build is fairly husky, and I am pretty strong for my size. My calf muscles are bigger than some men's thighs. I'm more pack mule than jackrabbit. The BMI may not apply directly, but at least it is some sort of reference, and I am much too fat.

Starting this year, I am somehow back up to the heaviest I have ever been. It is shocking to step on the scale and see the huge numbers. There were hints in that my belt had to be set at a hole further out, but I still felt good, and not slowed down too much. Apparently, I had become somewhat less active this autumn, while taking in a few too many calories. It is important now that I reverse both of those.

So, what is the plan? Right now I don't really have one. This is winter, with cold and slippery conditions, plus it gets dark early. Then we get into cold and wet for the spring. There are usually a couple of nice weeks in July to bike and run before getting back into precipitation again. You really can't count on being able to do anything outside on any sort of a schedule.

What I have done is setup some general goals on my new Samsung Galaxy S5. Key among them is to do at least 30 minutes of an activity everyday. The pedometer is set for 6000 steps. The common goal is to do 10,000 steps, but I don't have the phone on me most of the day. Even then, it takes an hour long walk to hit that mark.

Winter means snow, and snow is great for getting exercise. First, there can be lots of shovelling to do at times. I often spend more than 2 hours cleaning up after a storm with scoop and shovel. That is a lot of walking, weight lifting, and various other strength exercises. There is no getting around it, or putting it off either.


Once we get enough snow built up on the ground, then other activities can be introduced. I really like snowshoeing and cross-country skiing up in the woods. We have a community ski trail, but that is a never-changing loop with other people on it. Heading off on one of the many forest trails means maybe an hour without seeing anyone, or hearing a sound of any kind. Just me and nature. I explore and go wherever I feel like. Of course, I have a map and compass, and probably a GPSr, along with the navigation capabilities of my newer phones. I've been making my own map of the winter trails.

Map made using a GlobalNav 12 and GPS Trackmaker in 2005.

A trail I can enjoy all year is the former railway bed. Since we no longer have a train in the province, the rails have been removed leaving a multi-use trail for walking, running, cycling, snowshoeing, cross-country skiing and so on. The only problem is that you have to share it with the snowmobiles, dirt bikes and ATVs. Fortunately, if you avoid the few busy times, you can pretty much have it to yourself.


Being a little bit more active, and a little bit more careful with food, I am down a couple of pounds already. At this rate it will take about a year to reach my weight goal, but as long as it is going down and not up, I am winning.

2015-01-09

My Kramer Ferrington KFT

Somewhere around 1990 I bought a Korean version Kramer Ferrington KFT-2 #FB 5995. Being married with a family, my days of being in a band and needing a Marshall amp for a Gibson RD Artist were over. Something to play occasionally with friends, and maybe do some personal recording, was all I needed.

Fred, Curt, Dave and me playing at the Mussel Bed Soiree in 1986.

My Gibson RD Artist circa 1998, not too long before I sold it.

The Kramer must have been a few years old at the time, since the company logo on it is from 1985-1986. I remember seeing the guitar hanging up at the Radio Shack in Lewisporte and being instantly drawn to it. Wade gave me a package deal with the guitar, case, strap and picks for what I recall as being either $400 or $600 inclusive.


It is an acoustic/electric which tries to service both worlds by putting a mic in the body powered by a 9v battery. That feature didn't get much use, however, since the battery would be dead whenever I wanted to plug it in, and you had to really relax the strings to get at it. I found it easier to just mic the guitar when I wanted to record it.

U. Max, me, and Rod playing at a family reunion in 2000.

Playing this guitar was always a challenge, because either in the design or during the manufacturing process, the gap between the strings and fretboard was set way too high. It could be played, but only with a lot of pressure, and thus a loss of speed. There wasn't much bend left either, for doing any lead bits.

Since I rarely played anymore, this was not a big deal. Strumming a few chords at a campfire, or kitchen party was not too bad an ordeal. I got used to it. That was until 2014 when I started jamming occasionally with Mike. He has a collection of very expensive guitars, and the difference between his and mine was substantial. Going back to the Kramer was painful.
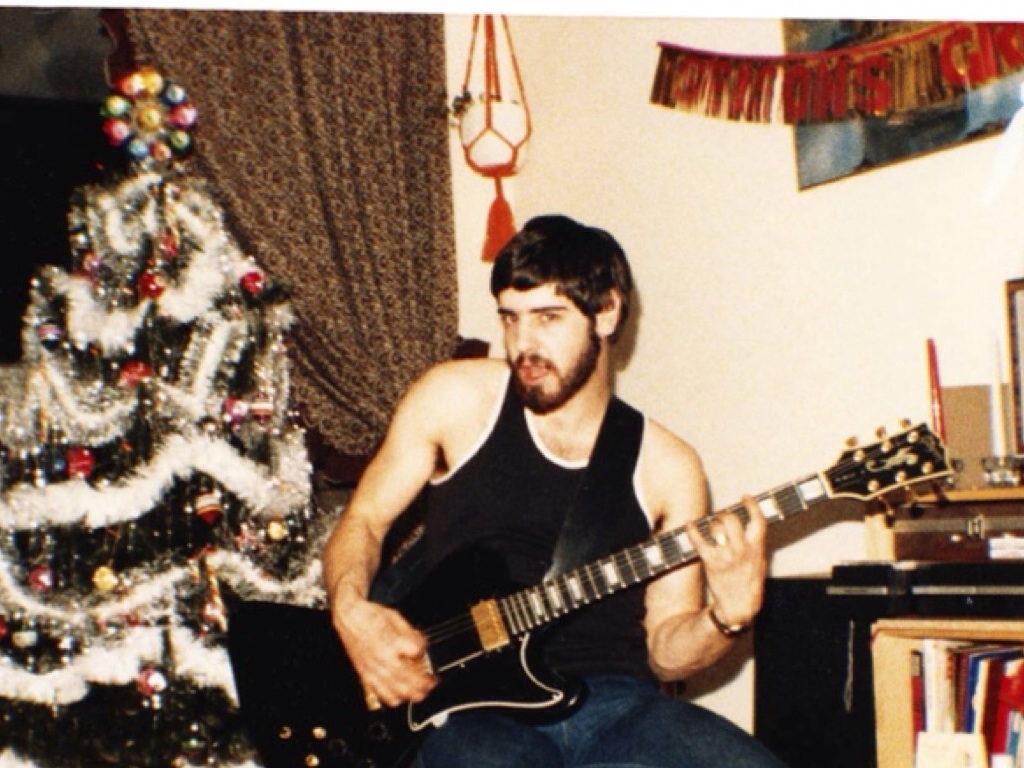
After owning this guitar for more than 2 decades, I decided to finally do something about the extremely high string action, and brought it to the local music store to see if they could do anything with it.

Back from repairs in 2015.

They took the guitar apart and fine tuned it until the strings were at a reasonable height. They also cleaned up the electrics and put in a new battery. Along with a new set of strings, it is a totally different guitar. I should have had this work done years ago. Playing guitar is once again something I can look forward to, and not an extreme workout for the fingers on my left hand.


Kramer Links