With the new refrigerator in its new location (see Phase 1), the plan was to get a kit so that the portable dishwasher would not have to be moved to the sink for use. The plumbing would not be too difficult, and it would be a great convenience.
However, as I was sizing this up, I realized that the 45 year old cupboards that I had repaired and painted just a couple years previous were starting to fall apart again. Also, with the cushion floor having been ruined when the new fridge arrived, we were back to the old, ugly and broken tiles. Some new flooring was required.
It was decided to order some cabinets, and update that side of the kitchen. After consulting with the Kim at the Notre Dame Castle store, we came up with a design, and settled on the styles for the doors and flooring. They would be ready in a few weeks.
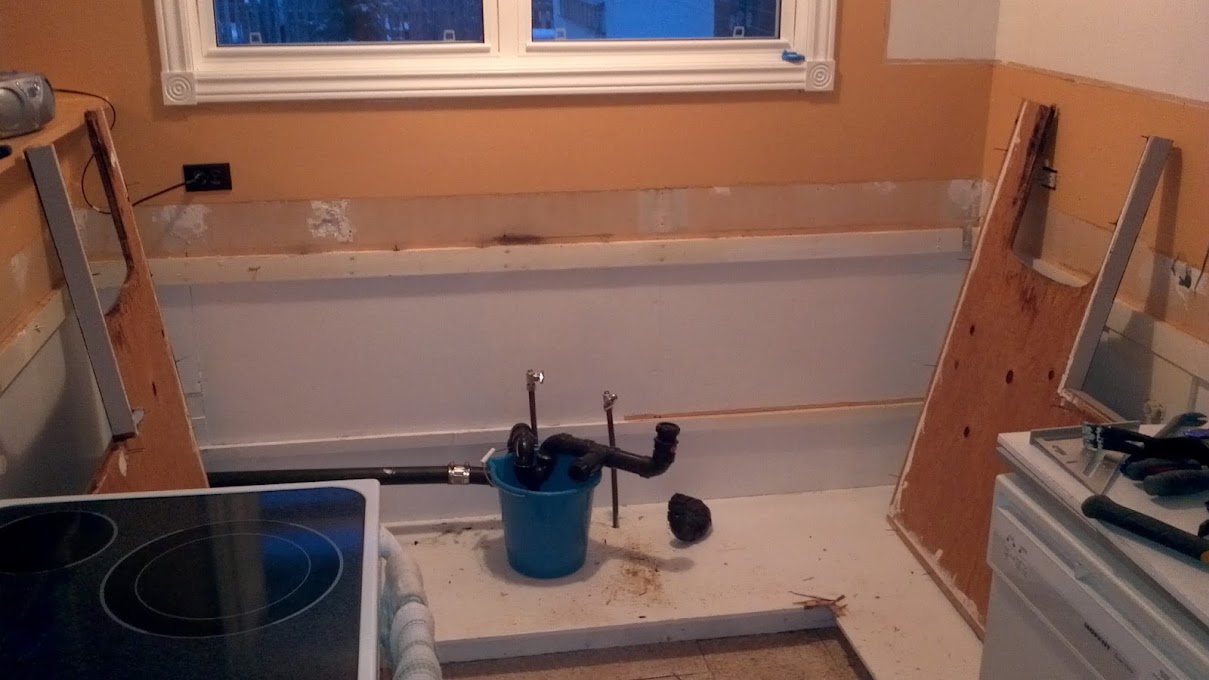
In anticipation of the arrival of the cabinets, and to get a head start on the project, demolition was begun at the beginning of December.
I was away for work when the cabinets arrived, so I was greeted upon my return by a living room full of boxes. Included was the new built-in dishwasher.
There was some plastering work required following the dismantling of the old built-ins. Also, some minor electrical work, including wiring up an outlet for the microwave, and providing power to the new dishwasher.
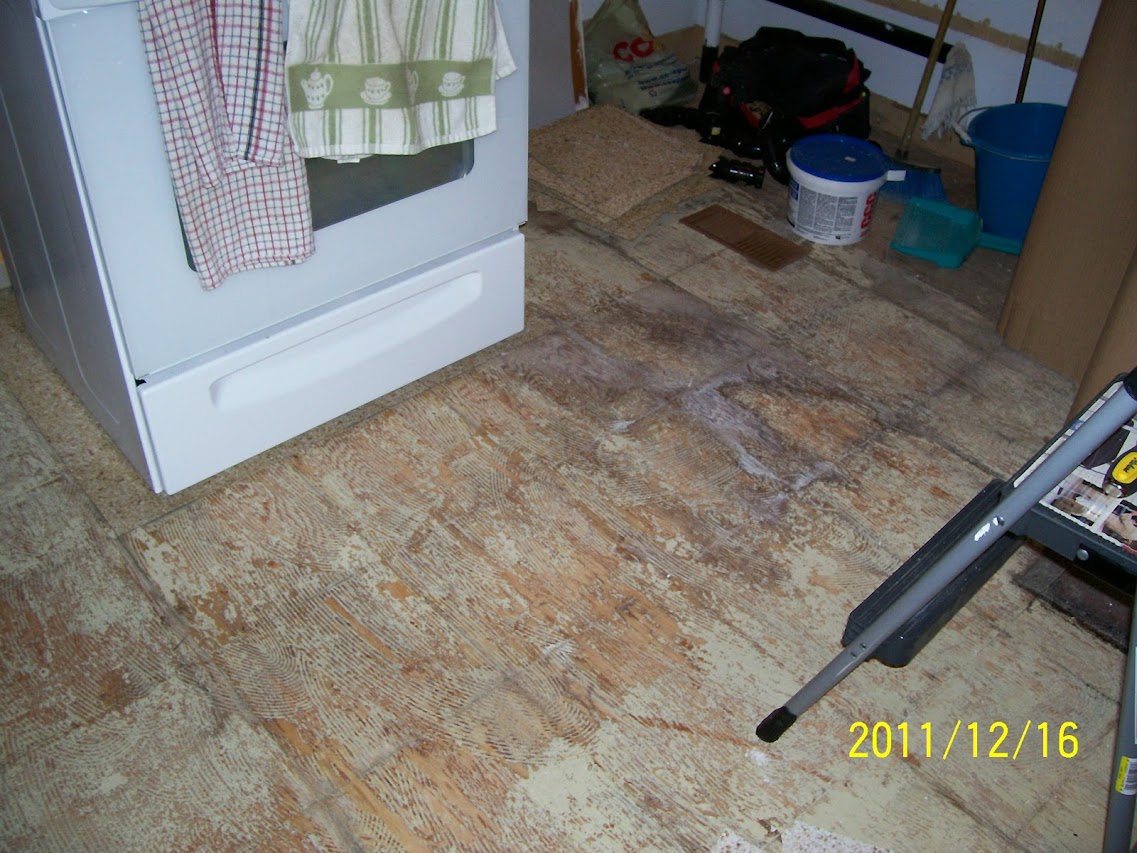
The floor tiles had to be removed, and the subfloor screwed down to the joists to remove the ancient squeaks.
Painting was done prior to the cabinet installation, since that was easier to do when not worried about making a mess over the new surfaces. Any required touch-ups could be done after.
One major issue was the floor being unlevel. With a finished basement below, there was little recourse but work with the .5" drop between the outside wall and the dining room door. For this reason, I started with the tallest cabinet, carefully located it, and then levelled the uppers from that point back to the outside wall. If I were out in my measurements, there were spacers I could put in, but it was not necessary.
With the uppers in place and secured, I could start the more complicated process of putting the lower cabinets in. This was challenging because I had to get hot water to the dishwasher, and have the drain come back. The large corner cabinet went in and out a few times until I was happy with the solutions for that.
With the floor slanting so much in all directions, it was a real challenge making everything level, and lots of spacers were used. Installing the flooring was put off until after the cabinets, so that it would help cover up the gaps.
The smaller corner cabinet was also fun to deal with, because the drain had to go through the bottom of it, and the vent out the back. Careful measurements were required to get all that to line up.
Doing most of it by myself, all this work was taking longer than I expected, and spanned the Christmas holidays. That also caused delays, so the project was going into January. At least it was looking promising.
With the festivities out of the way, work progressed again. I had someone come in to do the counter tops since I did not have either the tools or the knowledge to install them. A drill bit had to be borrowed to mount the faucet in the granite sink.
Anyone who can use a level and a screwdriver can install cabinets, so the only thing I could really take pride in was my plumbing. I made a hatch to access the dishwasher pipes, and everything works perfectly.
The first batch of homemade bread in the upgraded kitchen!
Now that this side of the kitchen is new and more functional than ever, plus there is more counter space and more storage, I can rest, right?


